LODB installation & setup guide.
Install the LODB server on Windows, Linux or Docker, including the dedicated UGREEN DXP4800 Plus Docker image. Then install the Windows Desktop Player or Android client and connect to your server.
How the server is laid out
LODB keeps the server application separate from persistent customer data. Users, libraries, metadata, playback state and settings survive normal application upgrades because they are not treated as disposable program files.
Windows installs program files under C:\Program Files\LODB Media Server. Linux and Docker deployments should likewise keep the executable/container separate from persistent data.
Windows uses C:\ProgramData\LODB Media Server\data. Linux uses the service account's native/XDG storage unless you explicitly set LODB_DATA_DIR. Docker must map /data to persistent host storage.
Scanning without waiting for the whole library
When LODB discovers a new media item during a scan, it can publish the item into the live catalogue before the entire scan and metadata-enrichment process finishes. Newly discovered media can therefore become visible and playable while the remaining folders continue scanning.
- Sign in as an administrator and open Libraries.
- Add a library name, media type and one or more readable filesystem paths.
- Save the library. LODB starts discovery.
- Newly found titles can appear in the live catalogue while scanning continues.
- Metadata and artwork can continue enriching in the background.
Windows Server — full setup guide
- Download the Windows x64 installer.
SaveLODB_Customer_Server_3.9.33_Tray_Setup.exeto the server PC. - Run the installer.
Approve the Windows UAC prompt. Until the final Authenticode certificate is applied, Windows can show Unknown Publisher. - Let setup install the application.
Program files go toC:\Program Files\LODB Media Server. Persistent customer data is kept separately underC:\ProgramData\LODB Media Server\data. - Open LODB from the tray.
After setup, find the LODB icon near the Windows clock. If Windows hides new tray icons, open the^hidden-icons menu. Right-click the icon and choose Open LODB Dashboard. - Complete first-run setup.
On the server PC you can also browse tohttp://localhost:8098. Create the administrator account and complete the server setup. - Add media libraries.
Add the folders containing the media you are authorised to use. Make sure the Windows account running LODB can read those paths. - Connect other PCs.
From another computer on the same network, use the server PC's LAN address, for examplehttp://192.168.1.50:8098, or use its computer name. The installer adds the LODB program firewall rule for Private/Domain networks. - For internet access, use HTTPS.
Use a domain/reverse proxy and a trusted certificate rather than exposing an unsecured HTTP port directly to the internet. - Upgrade safely.
Run the newer installer over the existing installation. The installer stops the running server/tray process, replaces application files and leaves the persistent data directory intact.
Linux Server — full setup guide
Use the current Linux x86-64 server package on a compatible Linux host. A dedicated service account is recommended so LODB has only the filesystem permissions it needs.
- Download and extract the Linux package.
A conventional location is/opt/lodb. Keep the application directory separate from persistent data. - Create a service account and persistent directories.
sudo useradd --system --create-home --home-dir /var/lib/lodb --shell /usr/sbin/nologin lodb sudo mkdir -p /opt/lodb /var/lib/lodb/data /var/cache/lodb sudo chown -R lodb:lodb /var/lib/lodb /var/cache/lodb - Copy/extract the release into
/opt/lodb.
Make the server binary executable, for examplesudo chmod +x /opt/lodb/Lodb. - Choose the persistent data location.
The native Linux build follows XDG storage for the service account. You can explicitly keep the main LODB data tree at/var/lib/lodb/databy settingLODB_DATA_DIR=/var/lib/lodb/data. - Create a systemd service.
[Unit]
Description=LODB Customer Server
After=network-online.target
Wants=network-online.target

[Service]
Type=simple
User=lodb
Group=lodb
WorkingDirectory=/opt/lodb
Environment=HOME=/var/lib/lodb
Environment=LODB_DATA_DIR=/var/lib/lodb/data
ExecStart=/opt/lodb/Lodb
Restart=on-failure
RestartSec=5

[Install]
WantedBy=multi-user.target
Save this as
/etc/systemd/system/lodb.service. If the downloaded archive uses a different executable name/path, use that exact path inExecStart. - Enable and start LODB.
sudo systemctl daemon-reload sudo systemctl enable --now lodb sudo systemctl status lodb - Give the service account read access to your media.
Use normal Linux ownership/groups or NAS mount permissions. Avoid solving permissions by making media directories world-writable. - Open the dashboard.
From a browser usehttp://SERVER-IP:8098, then complete administrator setup and add the media paths as they appear on the Linux host. - Upgrade.
Stop the service, back up persistent LODB data, replace only the application release under/opt/lodb, then start the service again. Do not replace the persistent data directory with the program package.
Docker setup guide
Docker is a deployment method, so there is no general Docker download button. Use a current LODB Docker image appropriate to your host and map persistent server storage outside the container.
Keep /data, /config, /metadata, /backups and other state/runtime mappings on host storage. Map your media read-only where practical.
Expose the configured LODB HTTP/HTTPS ports. The normal local HTTP port is 8098; HTTPS depends on your certificate/reverse-proxy configuration.
UGREEN DXP4800 Plus
The UGREEN DXP4800 Plus uses the dedicated LODB Docker image. Click the model name or the download button below to download that image directly.
- Download the dedicated UGREEN DXP4800 Plus image.
- Open Docker/Container management in UGOS and import the image TAR.
- Create the container and map persistent host folders for
/dataand the other LODB storage roots. - Map the NAS media folders into the container and give LODB read access.
- Expose port
8098for local HTTP unless you have configured another port/HTTPS path. - Start the container and browse to
http://UGREEN-IP:8098. - Complete administrator setup and add libraries using the container paths, not the original host-only paths.
- When updating the image, keep the same persistent volume mappings so customer data survives the container replacement.
LODB Desktop Player — installer & connection guide
C:\Program Files\LODB Desktop Player, adds Start Menu/Desktop shortcuts, appears in Apps & Features and includes an uninstaller. The player does not require LODB Customer Server to be installed on the same PC.- Run the player Setup EXE.
Approve UAC and complete installation. - Open LODB Desktop Player.
Use the Start Menu or Desktop shortcut. The connection window waits for you; it does not automatically test localhost. - Enter the server address.
Use a LAN IP such as192.168.1.50, a computer name such asSERVER-PC, or an HTTPS domain such asmedia.example.com. - Enter the port.
Local HTTP commonly uses8098. HTTPS can use443,8443or whichever port you configured. - Test Connection.
The player verifies that the remote endpoint is an LODB Customer Server. - Connect to LODB and sign in.
Your username/password are handled by the Customer Server page. The connection launcher stores the successful server address but not your password. - Use Home, libraries, playback and Watch Together.
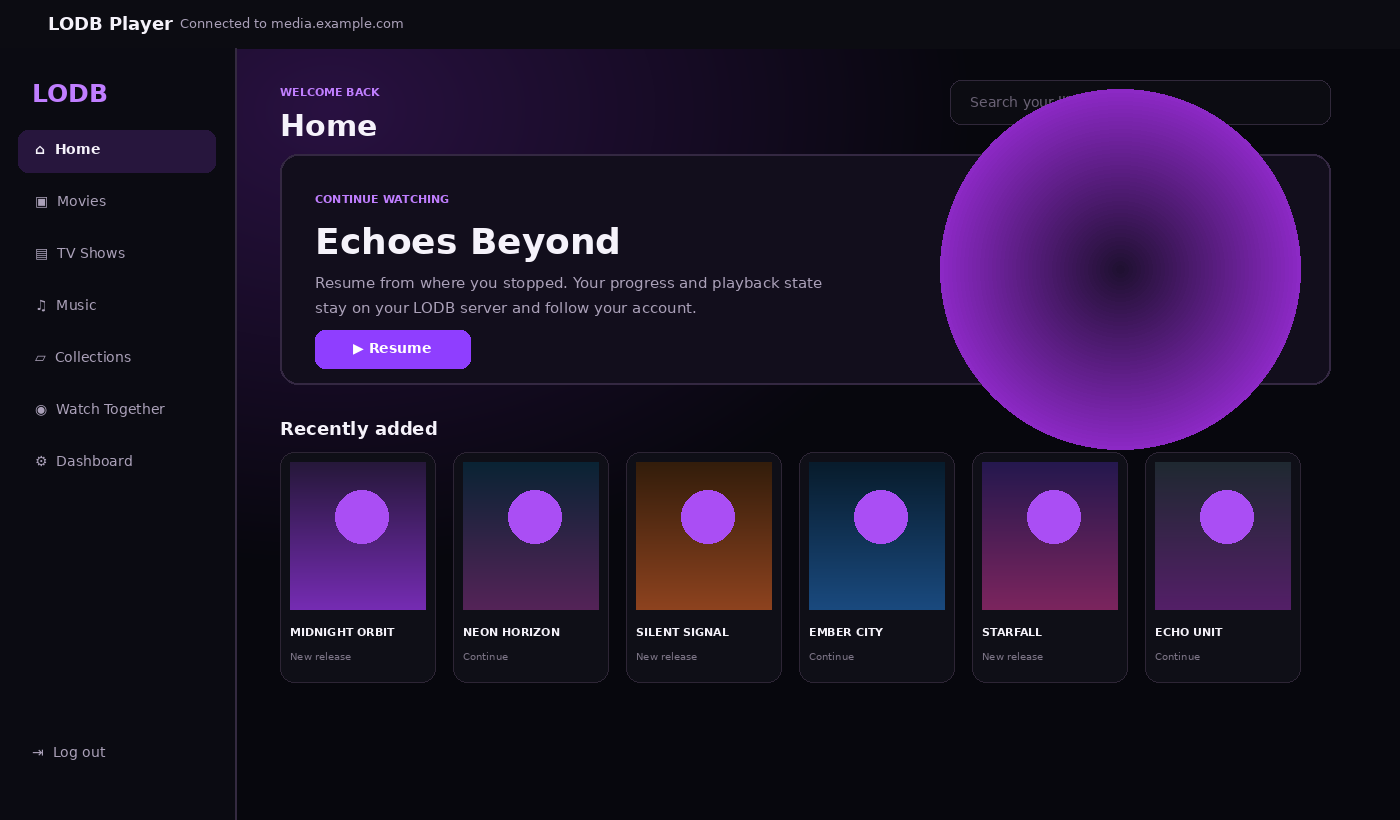
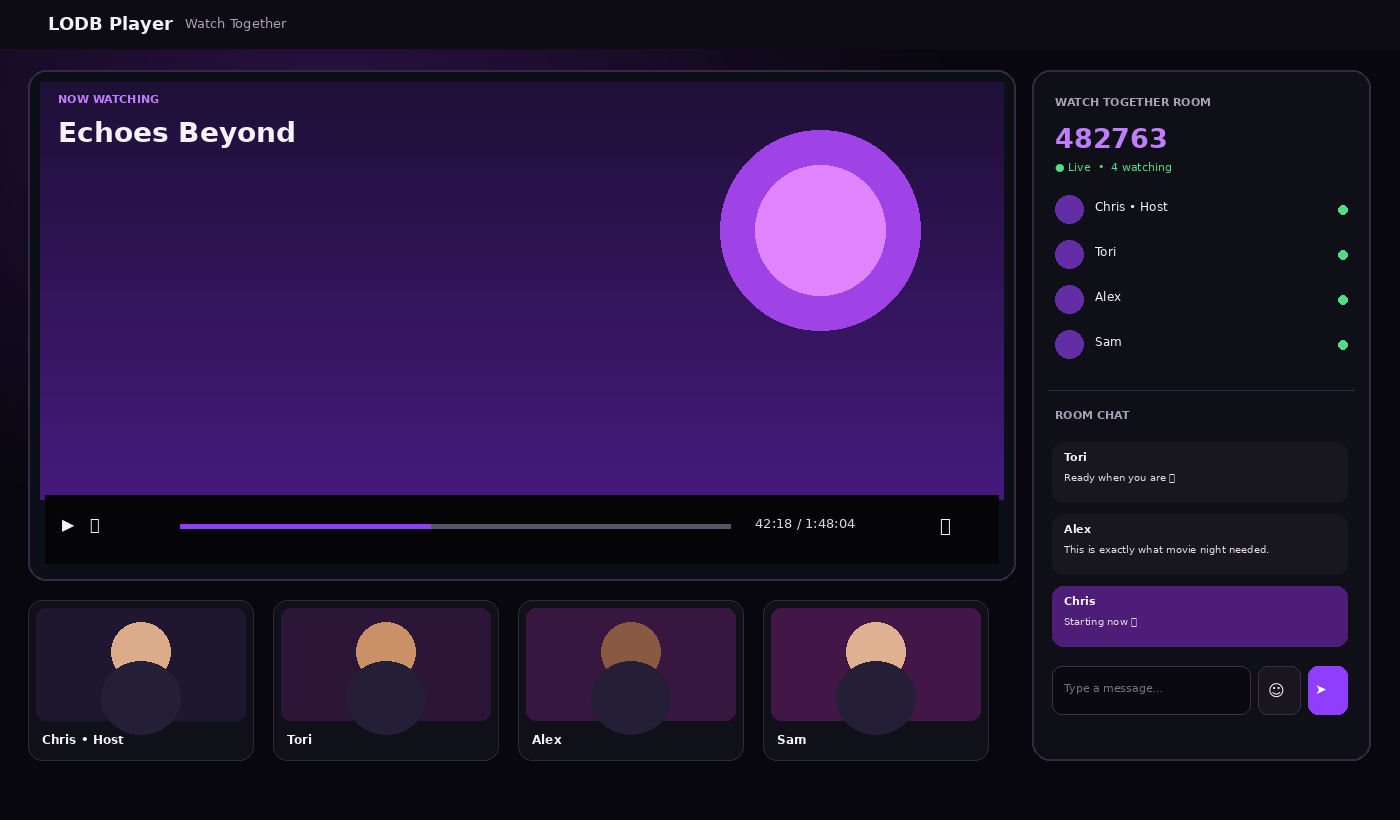
The connected interface is server-managed, so library names, permissions, progress and Watch Together remain authoritative on the server.
%LOCALAPPDATA%\LODB\DesktopPlayer, including the remembered server address and isolated Edge profile, so sign-in/camera permissions can survive an application upgrade.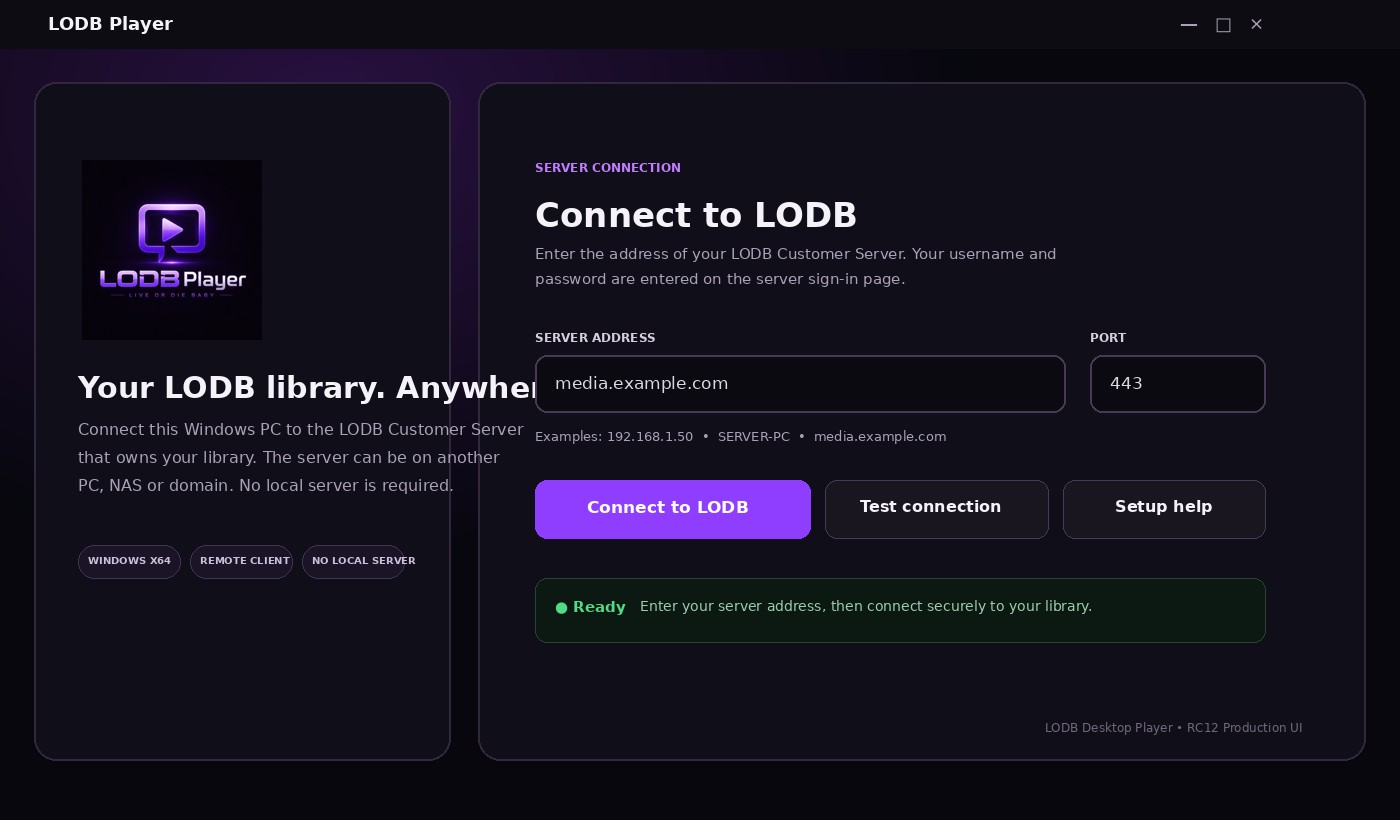
Backups, updates and recovery
- Back up the persistent LODB application-data directory before major updates, migrations or storage changes.
- Keep media files on their own backup plan; the LODB database is not a backup of the media itself.
- On Windows, application upgrades should replace Program Files while preserving ProgramData customer data.
- On Linux, keep the application release separate from the service account's persistent/XDG state.
- For Docker and UGREEN, keep the same host volume mappings when replacing the image/container.
- After updating, verify sign-in, libraries, artwork, Direct Play, one conversion path, subtitles, audio switching, resume state and Watch Together.